
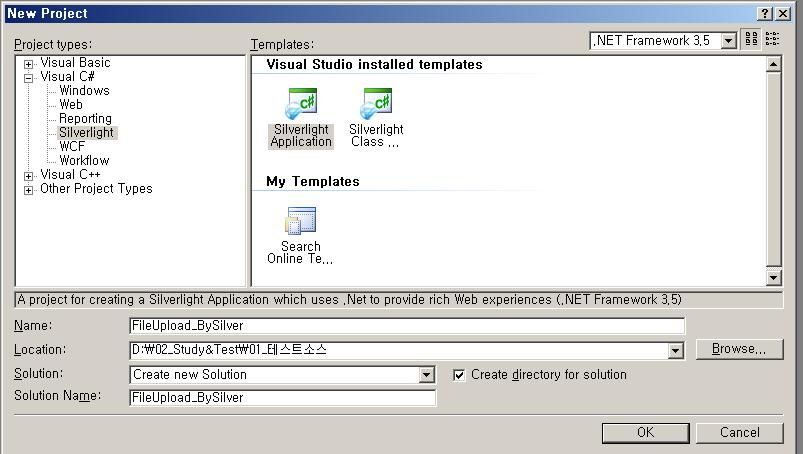
1. 실버 라이트 프로젝트를 만들어 봅니다.
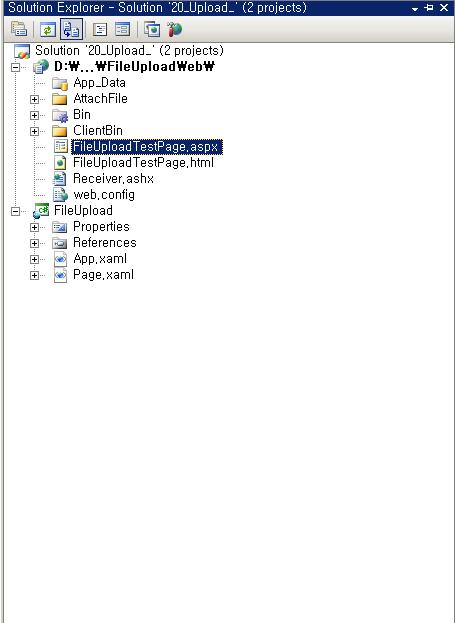
2. 다음과 같이 솔루션이 구성이 됩니다.
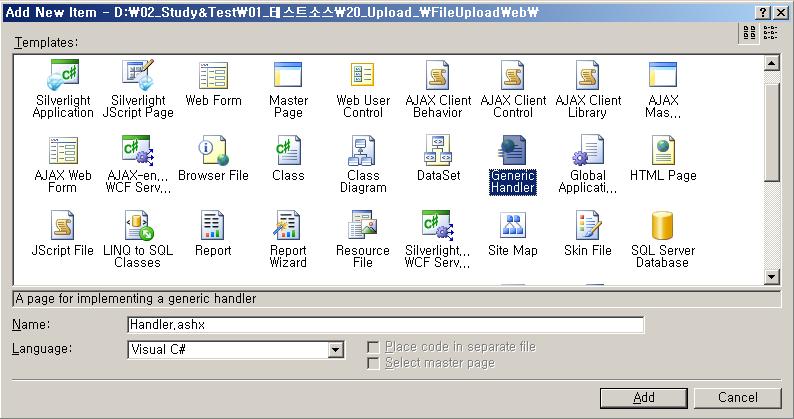
3. 웹프로젝트에서 넘어온 파일 스트림을 저장할 제네릭 핸들러를 만들어 봅니다..
이름은 'Receiver.ashx' 로 하겠습니다.
<%@ WebHandler Language="C#" Class="Receiver" %>
using System;
using System.Web;
using System.IO;
public class Receiver : IHttpHandler
{
private string strFileDir = "~/AttachFile/";
//private string strFileDir = "\\\\192.168.0.100\\ktdata\\";
public void ProcessRequest (HttpContext context)
{
string strFileName = context.Request["filename"].ToString();
//strFileName = GetFilePath(strFileDir, strFileName);
//string strFilePath = strFileDir + strFileName;
string strFilePath = context.Server.MapPath(strFileDir + strFileName);
FileStream objFs = File.Create(strFilePath);
SaveFiles(context.Request.InputStream, objFs);
}
private void SaveFiles(Stream objInputStream, FileStream objFs)
{
byte[] buffer = new byte[4096];
int intbytesRead;
while ((intbytesRead = objInputStream.Read(buffer, 0, buffer.Length)) != 0)
{
objFs.Write(buffer, 0, intbytesRead);
}
}
public bool IsReusable
{
get
{
return false;
}
}
public string GetFilePath(string strBaseDirTemp, string strFileNameTemp)
{
string strFileName = System.IO.Path.GetFileNameWithoutExtension(strFileNameTemp);
string strExt = System.IO.Path.GetExtension(strFileNameTemp);
bool blnExists = true;
int i = 0;
while (blnExists)
{
if (System.IO.File.Exists(System.IO.Path.Combine(strBaseDirTemp, strFileNameTemp)))
{
i++;
strFileNameTemp = strFileName + "(" + i + ")" + strExt;
}
else
{
blnExists = false;
}
}
//return System.IO.Path.Combine(strBaseDirTemp, strFileNameTemp);
return strFileNameTemp;
}
}
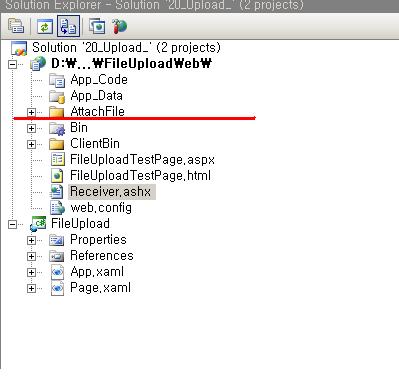
4. 파일을 저장 할 폴더를 만들어 봅니다.
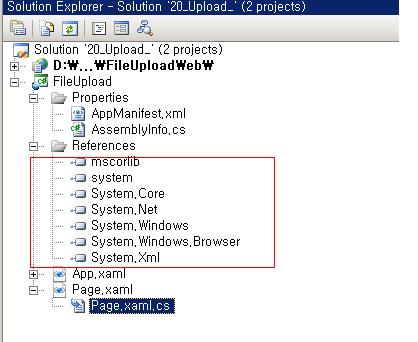
5. 자..이제 실버 라이토 프로젝트로 넘어와서..
다음 참조를 붙여 줍니다..

6. Page.xaml 를 구성합니다..아주 심플하게..
<UserControl x:Class="FileUpload.Page"
xmlns="http://schemas.microsoft.com/winfx/2006/xaml/presentation"
xmlns:x="http://schemas.microsoft.com/winfx/2006/xaml"
Width="400" Height="300">
<Grid x:Name="LayoutRoot" Background="White">
<StackPanel >
<Button Content="선택" FontFamily="Verdana" Width="100" HorizontalAlignment="Left" x:Name="btnUpload" />
<TextBlock x:Name="StatusText" />
</StackPanel>
</Grid>
</UserControl>
7. Page.xaml.cs 도 마저 구성 하볼랍니다. 자세한 코드 설명은 하지 않습니다..
using System;
using System.Collections.Generic;
using System.Linq;
using System.Net;
using System.Windows;
using System.Windows.Controls;
using System.Windows.Documents;
using System.Windows.Input;
using System.Windows.Media;
using System.Windows.Media.Animation;
using System.Windows.Shapes;
using System.IO;
using System.Windows.Browser;
using System.Configuration;
namespace FileUpload
{
public partial class Page : UserControl
{
Stream fileData;
public Page()
{
InitializeComponent();
Loaded += new RoutedEventHandler(Page_Loaded);
btnUpload.Click += new RoutedEventHandler(btnUpload_Click);
}
void Page_Loaded(object sender, RoutedEventArgs e)
{
HtmlPage.RegisterScriptableObject("SilverLightFileUpload", this);
}
[ScriptableMember]
public void btnUpload_Click(object sender, RoutedEventArgs e)
{
OpenFileDialog openFile = new OpenFileDialog();
openFile.Multiselect = false;
openFile.Filter = "All files|*.*";
if (Convert.ToBoolean(openFile.ShowDialog()))
{
this.StatusText.Text = openFile.SelectedFile.Name;
UploadFile(openFile.SelectedFile.Name, openFile.SelectedFile.OpenRead());
}
else
{
this.StatusText.Text = "화일을 선택해";
}
}
private void UploadFile(string strFileName, Stream objStream)
{
UriBuilder ub = new UriBuilder("http://localhost:1897/FileUploadWeb/Receiver.ashx");
ub.Query = String.Format("filename={0}", strFileName);
WebClient wc = new WebClient();
wc.OpenWriteCompleted += (sender, e) =>
{
Pushdata(objStream, e.Result);
e.Result.Close();
objStream.Close();
};
wc.OpenWriteAsync(ub.Uri);
}
private void Pushdata(Stream objInputStream, Stream objOutputStream)
{
byte[] buffer = new byte[4096];
int bytesRead;
while ((bytesRead = objInputStream.Read(buffer, 0, buffer.Length)) != 0)
{
objOutputStream.Write(buffer, 0, bytesRead);
}
}
}
}
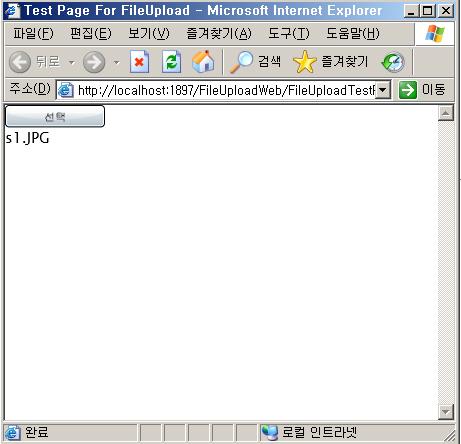
8. 다 했으면 F5 를 꾹 눌러 봅니다..
파일 창이 열리고 파일을 선택하면 하단에 파일이름이 보입니다.
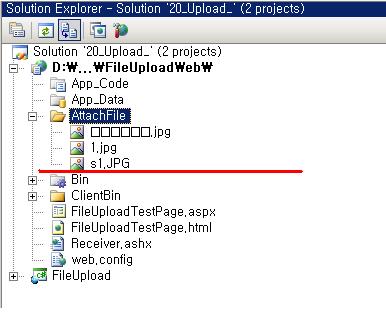
9. 파일 첨부 폴더를 확인합니다.. 오호라.. 들어가 있군요..
10. 출처는 MSDN 입니다.


